Homemade Pizza with Sauce from Scratch
Pizza is like coffee; it comes in myriad forms and is different at just about every place it’s cooked, home or restaurant. Making pizza “from scratch” is one of the more rewarding cooking activities you can do as well, given the creativity allowed for in pizza shape, topping choices, amount of sauce, and more. And when you have fresh tomatoes to work with, well, elevation is the word! Please enjoy the below recipe that I followed to utilize a great bounty of late season, Heirloom tomatoes from my backyard.
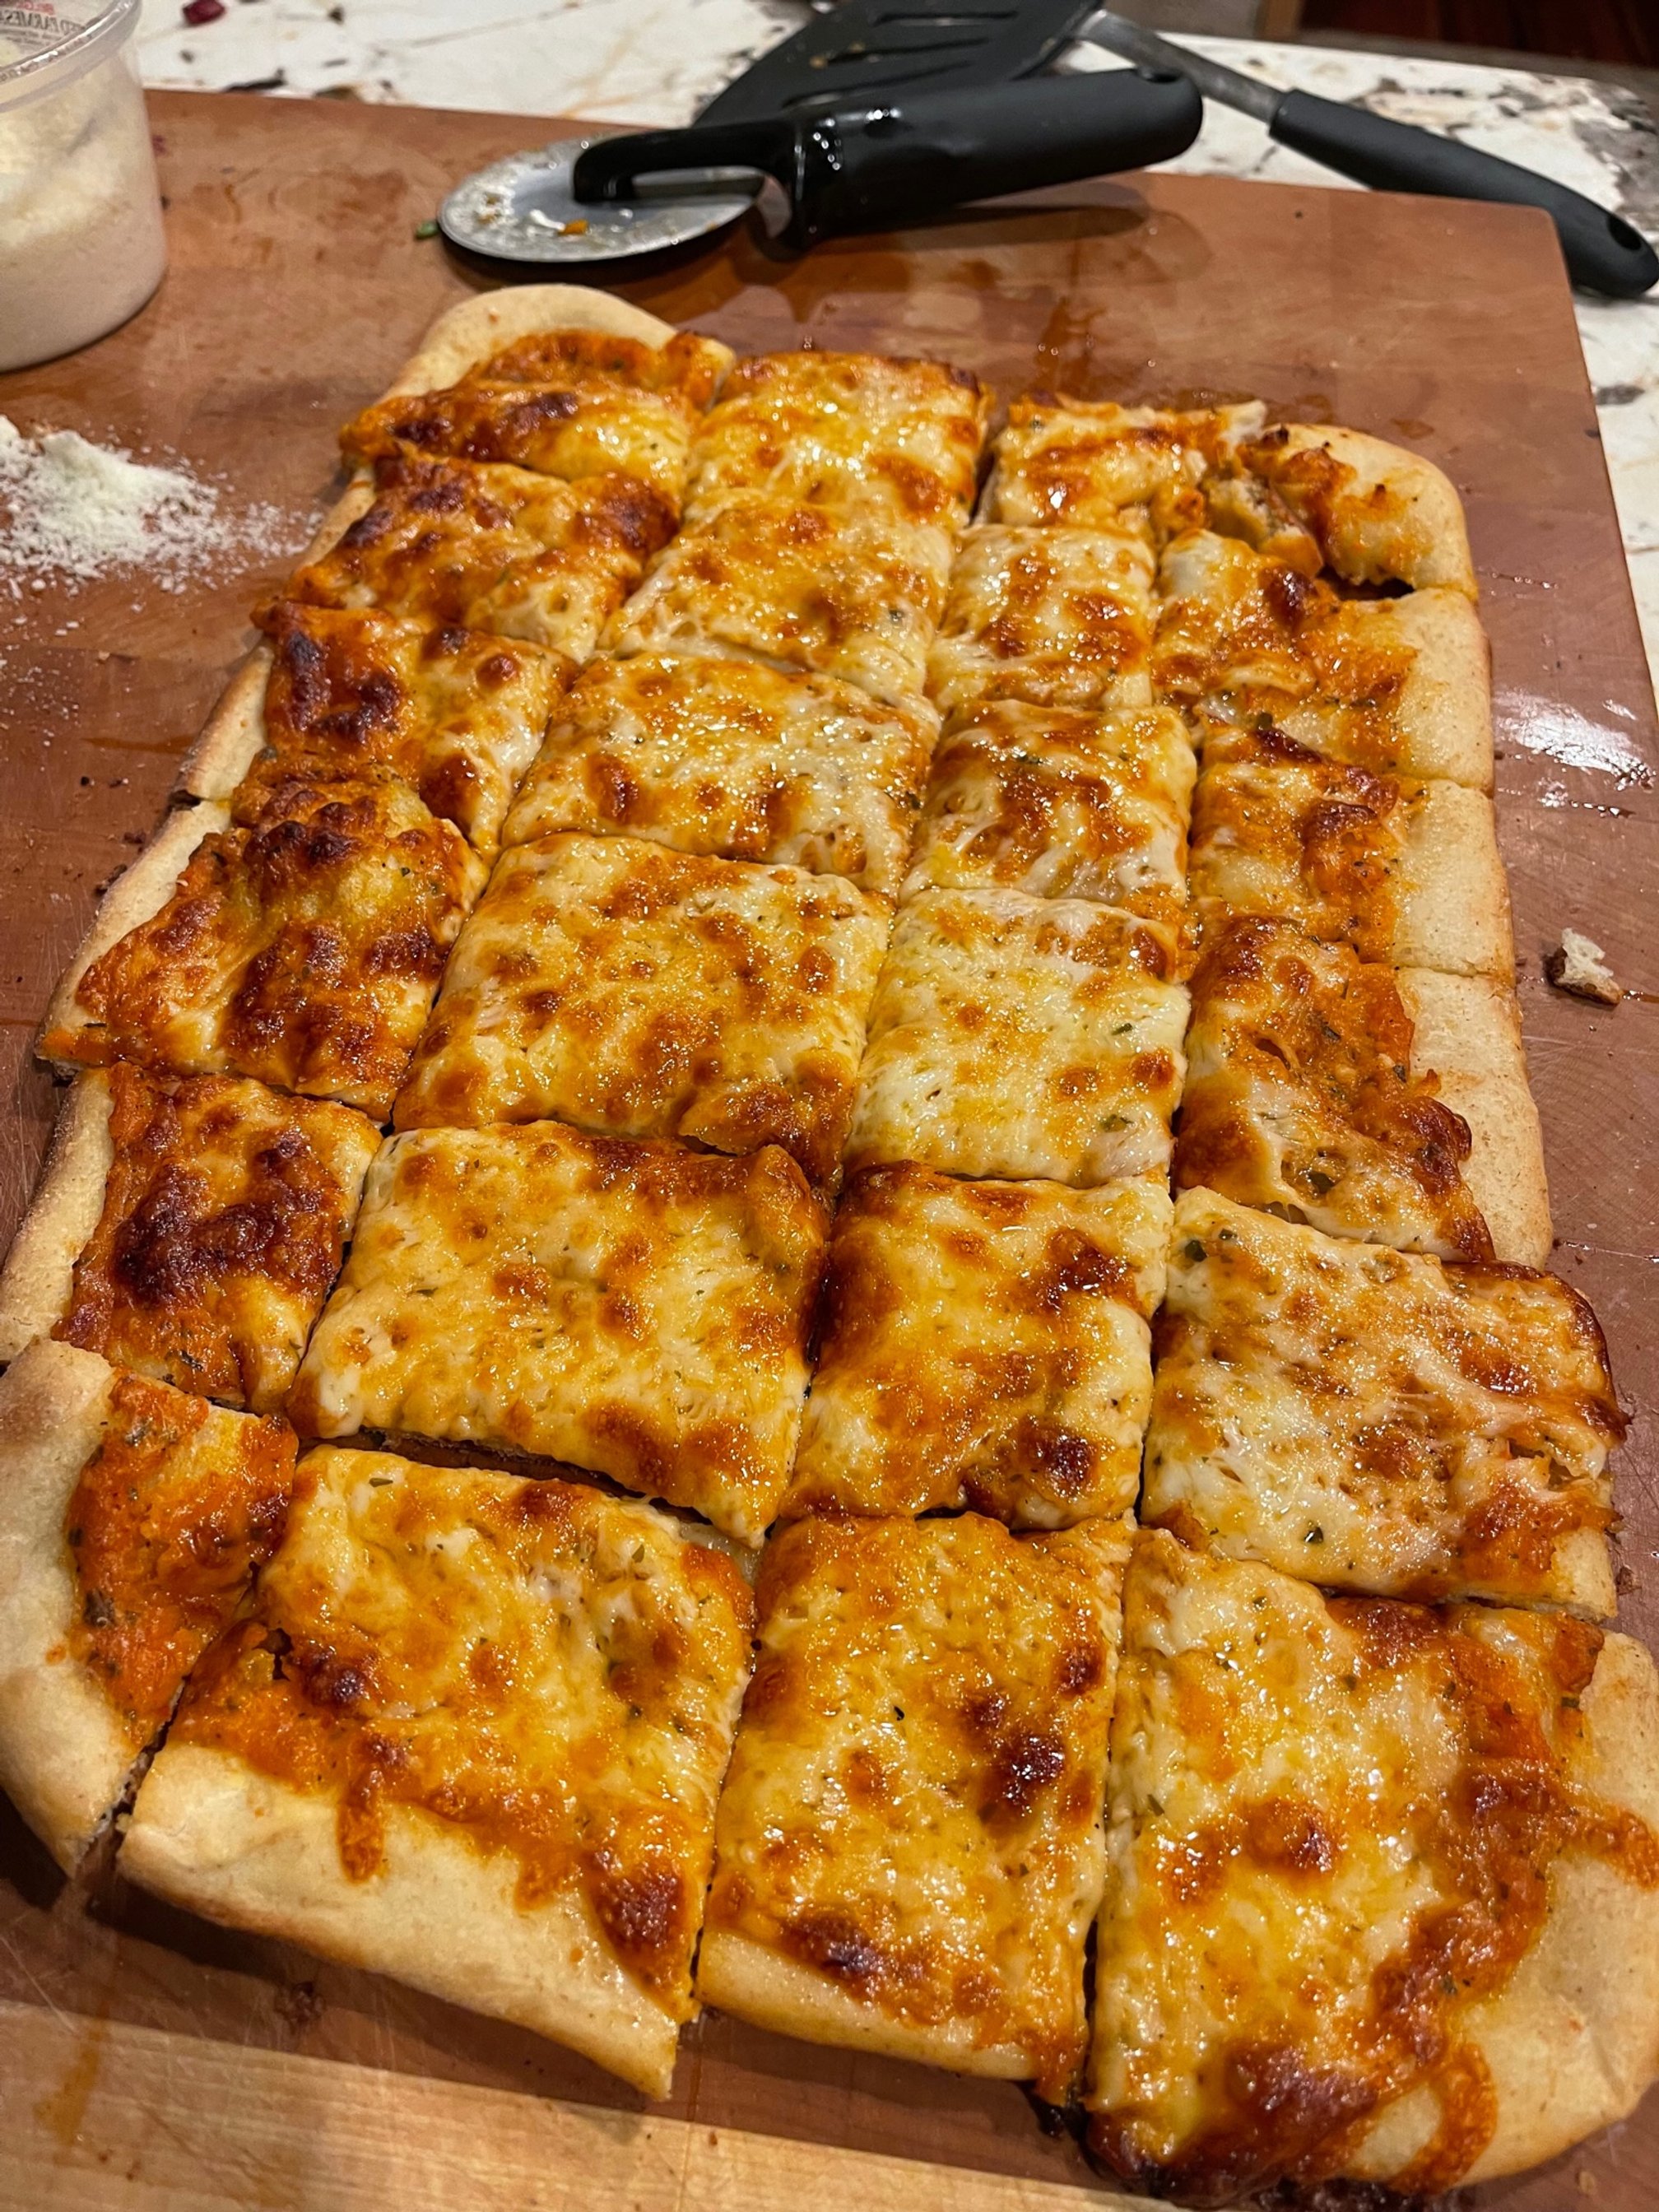
One of three pizzas I made from the below recipe. I like them both circular and square! Image Courtesy: Dan Meyers
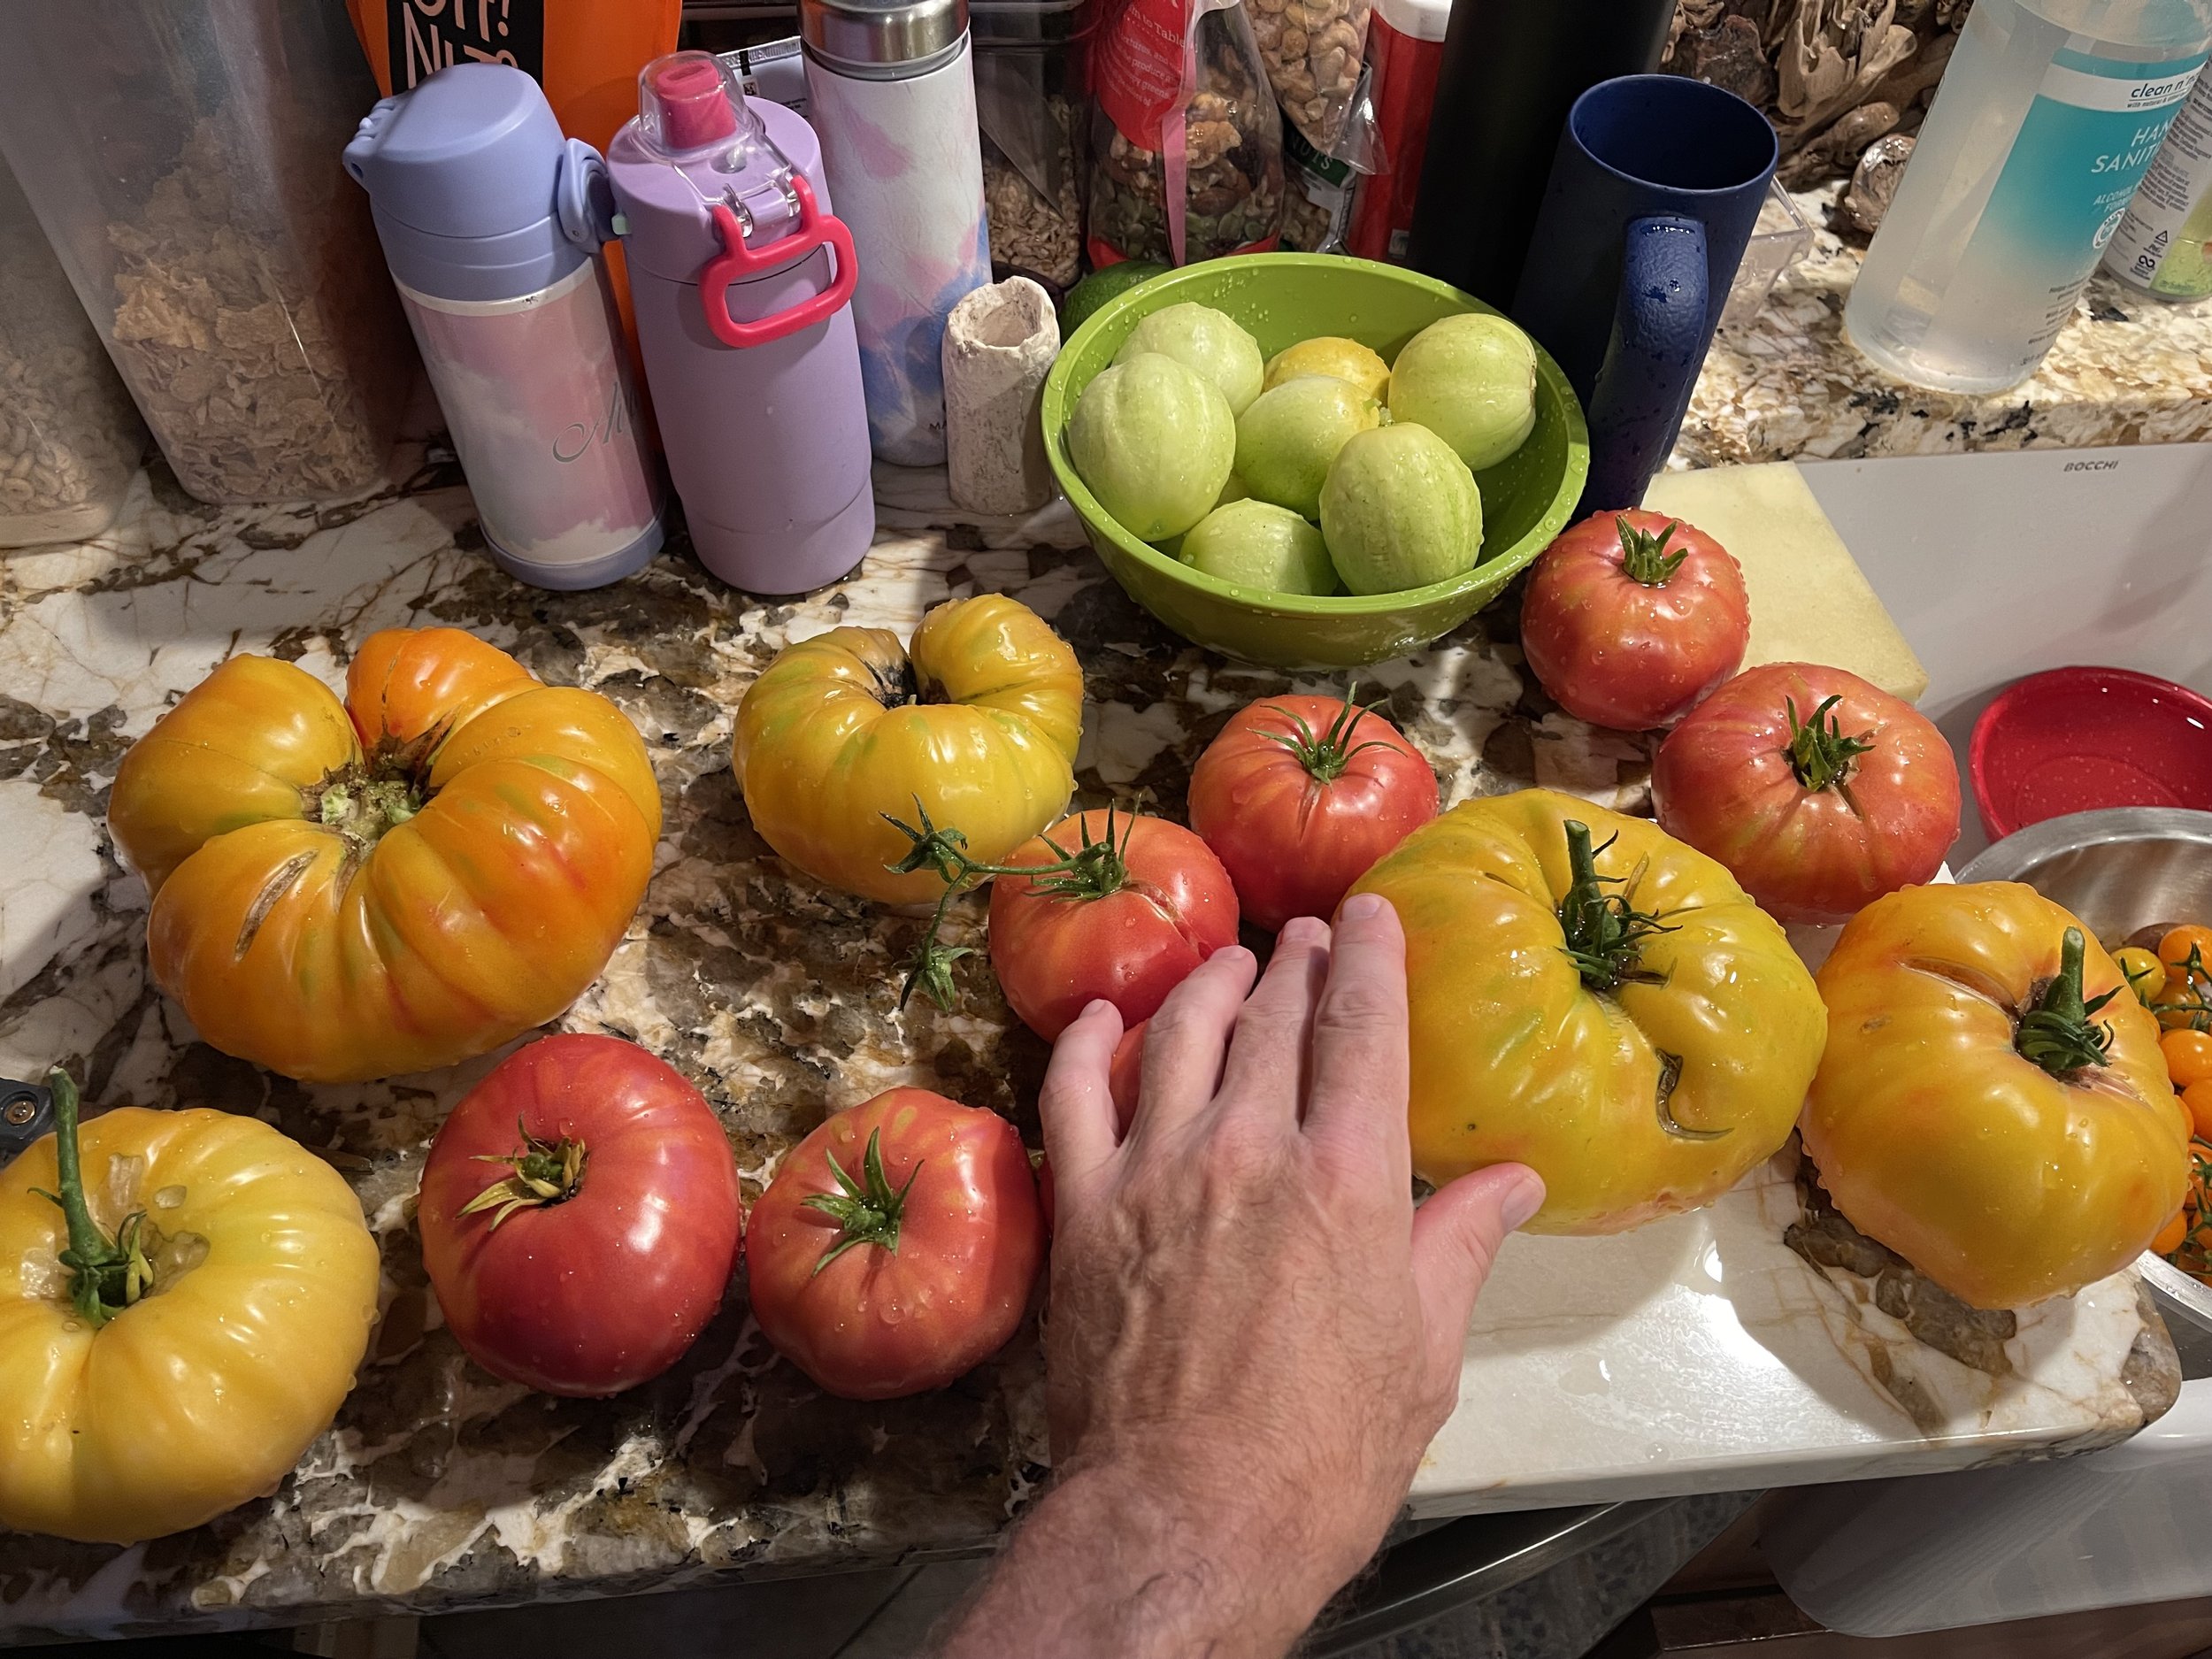
Heirloom tomatoes from my backyard. Yum! Image Courtesy: Dan Meyers
Pizza, Step-by-Step
I’ve outlined the below steps to making a great pizza. Just follow along and get ready to dine!
STEP 1. GET THE OVEN HOT: Preheat your oven to 400 degrees, as you'll be roasting your fresh tomatoes soon! If you're not making a fresh pizza sauce, then you can SKIP down to STEP 5!
STEP 2. GET YOUR INGREDIENTS & COOKING TOOLS READY: For cooking tools, you will need: 1. Large cutting board 2. Large Knife 3. Large Bowl 4. Large Skillet 5. Flat baking pan(s) (one for each pizza you plan to make) 6. Spatula 7. Pizza cutter -- Now the INGREDIENTS: (1) White onion, (7-8 large heirloom tomatoes), (5) cloves of fresh garlic, (2) celery stalks, (1) bunch of fresh basil, (1) large carrot, pizza dough (enough for however many pizzas you plan to make), cheese for grating (this could be mozzarella, Romano, asiago, or a blend), parmesan cheese (for later topping), and any other pizza toppings you might want to add (e.g., mushrooms, olives, pepperoni, etc.).
STEP 3. PREP YOUR TOMATOES FOR BAKING: If you are making fresh pizza sauce and have fresh tomatoes, do the following: 1. Wash your tomatoes in the sink. 2. Remove the stem and cut off any bad parts on your tomatoes (dark spots, cracks in the skin). 3. Cut all of your tomatoes into 1-inch pieces. 4. Place all cut tomatoes into a large bowl. 5. Drizzle about 2 TBSP of olive oil into your large bowl, and mix the tomatoes in with the olive oil. Sprinkle on salt and pepper (about one teaspoon of each). Mix all together.
Step 4. START BAKING YOUR TOMATOES: This is the next step in making fresh pizza sauce (skip if you use store-bought sauce). Spread your seasoned and cut tomato pieces onto a large baking pan (you might need two pans if you have a lot of tomatoes). 2. Place your pan(s) of tomatoes into the oven. 3. Put the timer on for 30 minutes. 4. Let those tomatoes bake!!!
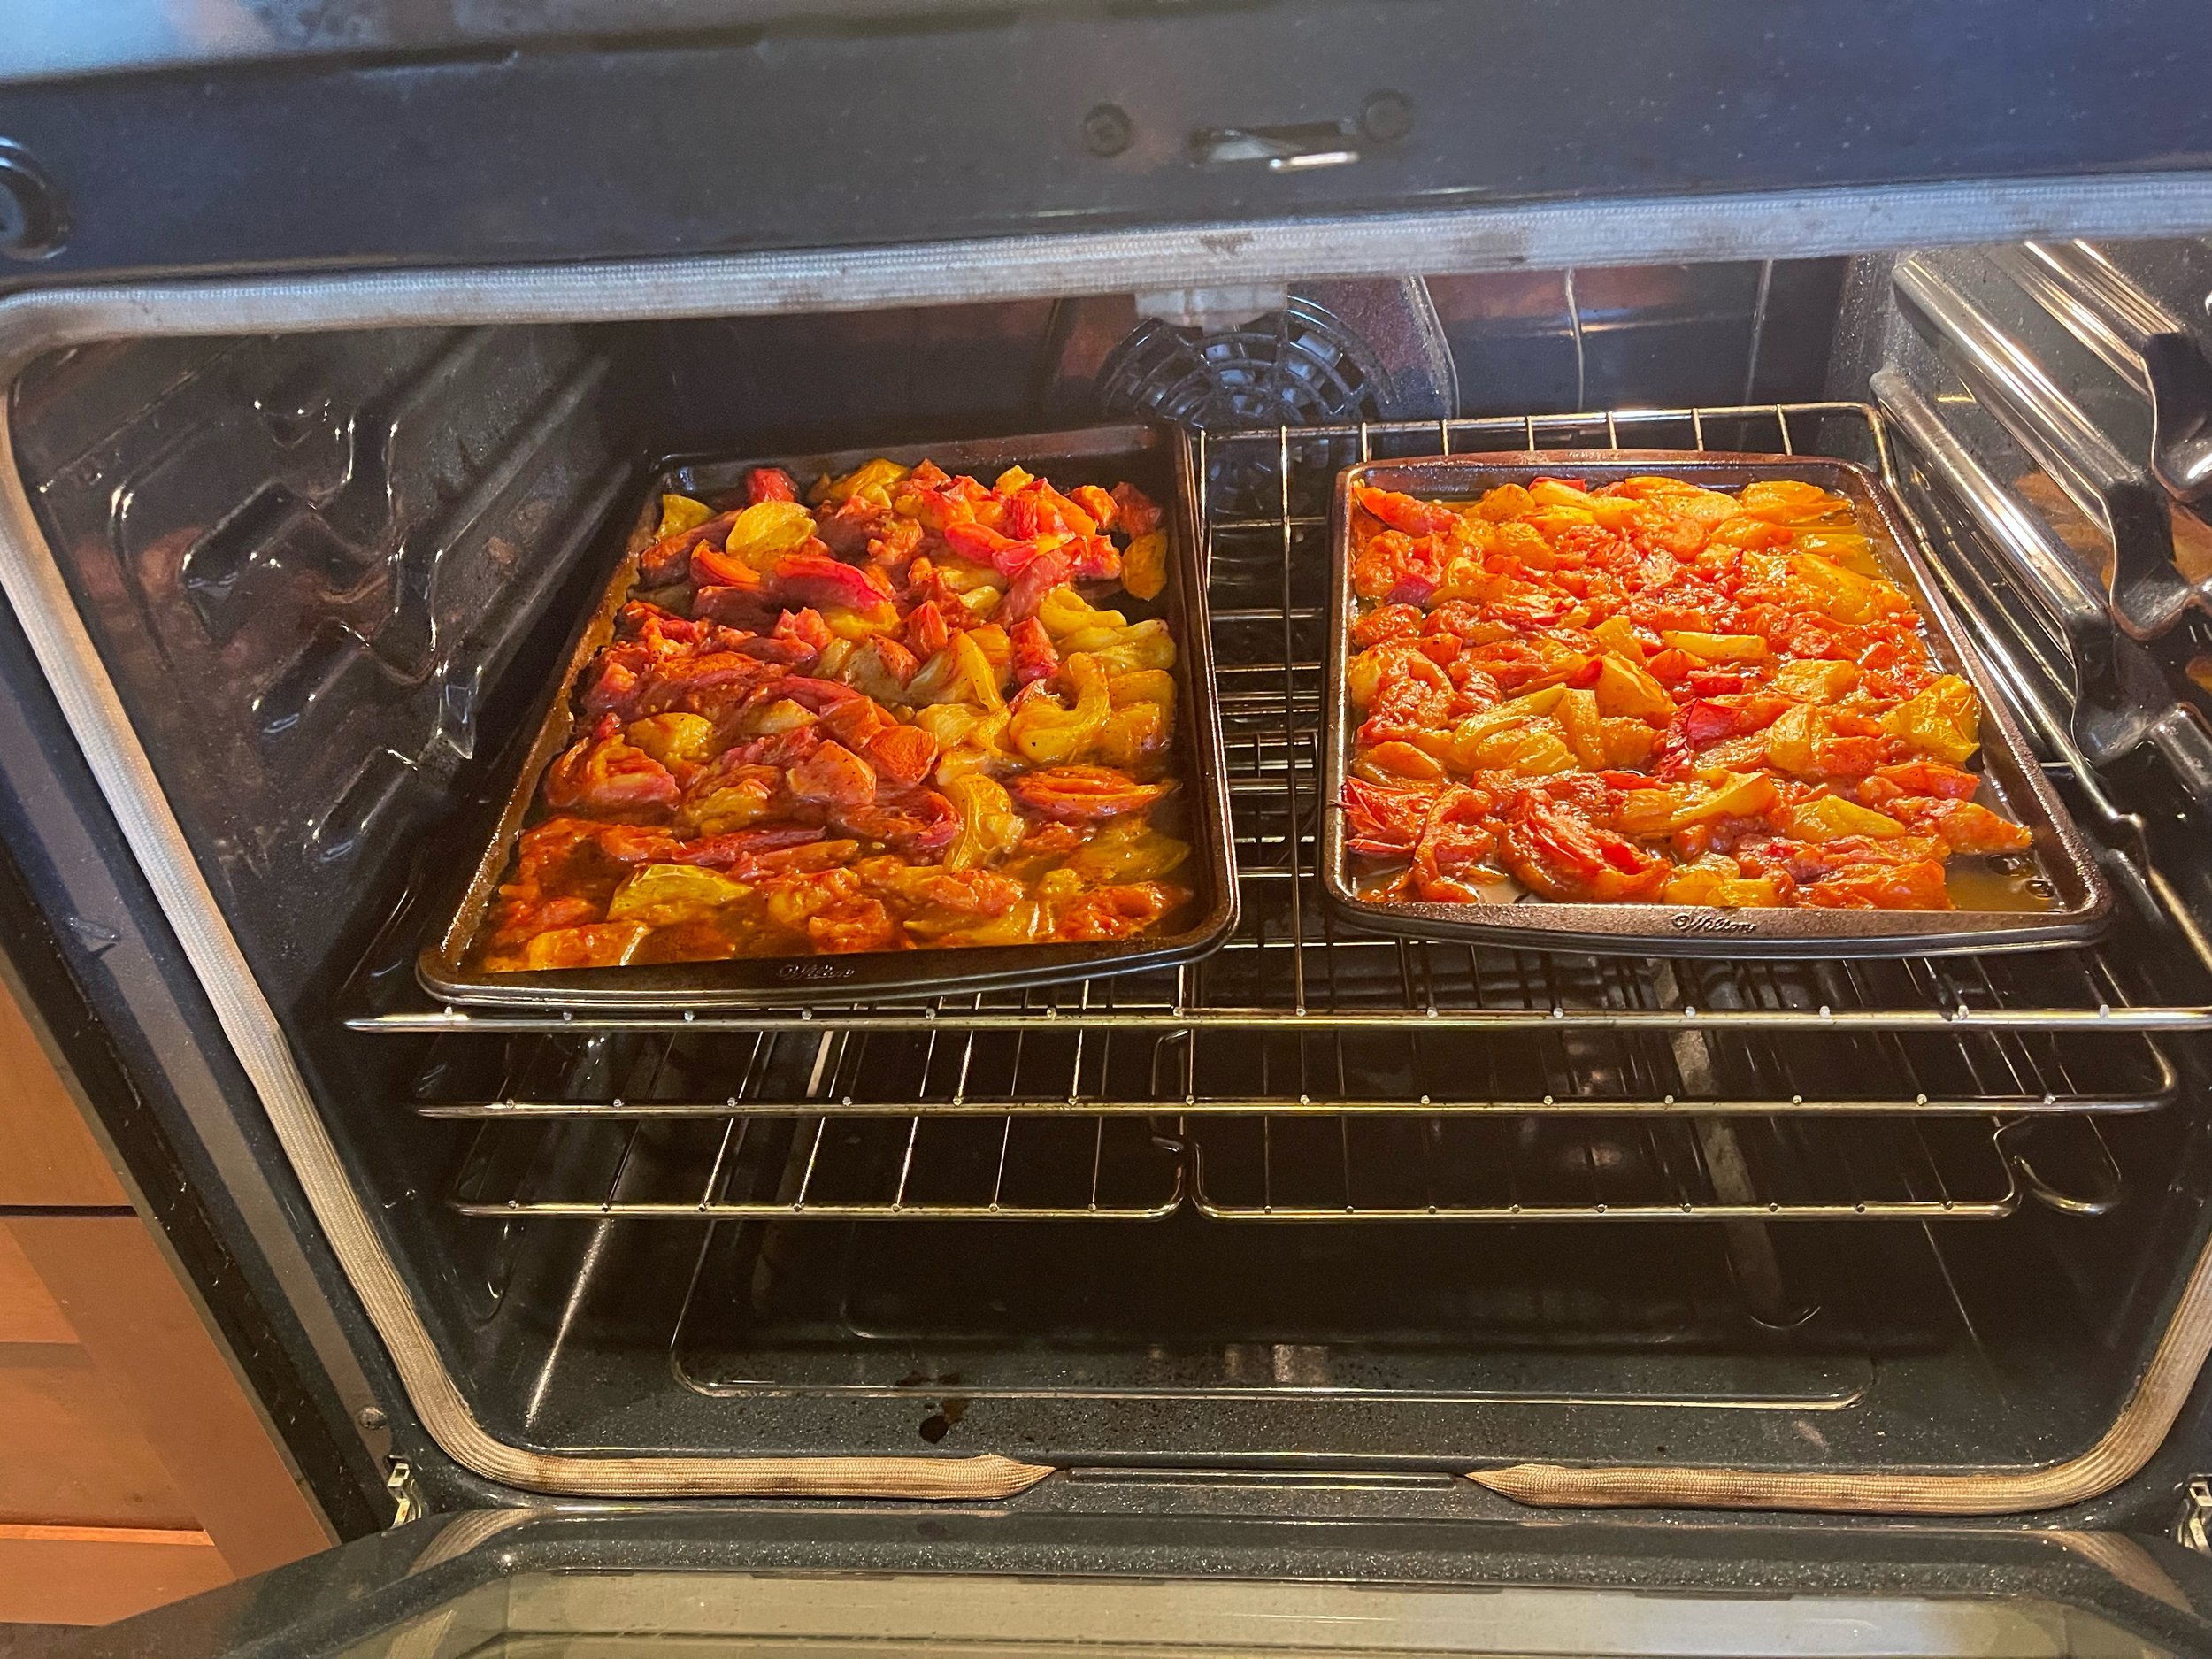
Pan-roasted Heirloom tomatoes are a critical part of a good pizza sauce! Image Courtesy: Dan Meyers
STEP 5. GRATE THE CHEESE: While baking your tomatoes, let's grate the cheese. Take the cheese grater, place it onto your cutting board, and grate a cereal bowl-sized amount of cheese. Ideally, you can use mozzarella cheese, as this is the best for pizza. But you can also use a blend of mozzarella and parmesan, asiago, or Romano. All work well, and your preferred cheese taste is how you can best decide. What's your favorite? So, grate that cheese!
STEP 6. OTHER TOPPINGS PREP: Beyond the all-important grated cheese, you need to chop up the fresh basil. Remove the stems from the basil and wash the leaves. Dry the leaves off (a paper towel works well), and then, using a large kitchen knife, chop the basil up into tiny pieces. Set the basil aside as you'll be adding it to the sauce later. Next, you may want other toppings on your pizza besides cheese. So, now's the time to get those toppings out and ready. Perhaps you fancy pepperoni slices? Maybe it's mushrooms or olives that you like? Get those items out and ready for putting on the pizza soon.
STEP 7. HAND-SMASHING TOMATOES: Now comes the fun part (if you're making homemade pizza sauce). As your tomatoes are roasting in the oven, remove the pan with the tomatoes on it using an oven mitt, as the pan will be HOT!!! Once out of the oven, let the tomatoes cool for a moment (1 minute) and then dump them carefully into a large mixing bowl. Wait a couple more minutes for the tomatoes to cool down a bit, and the, after washing your hands thoroughly, mix and break up the tomatoes by hand in the large bowl. This is kind of like how some people crush grapes with their feet! Yet here you're using your hands. Take your time on this; get the tomatoes smashed down as much as possible. Have fun here! Once you're done, set the bowl of smashed tomatoes aside and move on to the next step.

Hand smashing the roasted tomatoes is a lot of fun, especially for kids. Image Courtesy: Dan Meyers
Step 9. CREATE THE SAUCE BASE: Now that your roasted tomatoes are all hand-smashed up, it's time to create the extra flavor base for your pizza sauce. First, take your medium white onion and chop it into tiny pieces (minced, really). After the onion is done, chop up and mince your large carrot and both of your celery stalks. Next, mince up five cloves of fresh garlic. You can use pre-minced garlic here, but fresh is always better! Put (2) TBSP of olive oil into a large skillet on medium to low heat (as big as you have because soon you'll be adding the tomatoes). As the olive oil gets warmed up, add in the carrots, celery, and onion. Saute these items for about 5 minutes. Once that time is up, create a small hole in the center of the saute pan and add in your minced garlic. Sauce the garlic for about 3 minutes, or until it barely starts to brown. Now mix all of these four items.
STEP 10. ADD IN THE ROASTED AND SMASHED TOMATOES & BASIL: Now that your sauce base is all done, pour in your roasted and hand-smashed tomatoes from the large mixing bowl. Add in the chopped basil here. Mix all of this well and let it simmer on low heat in the large skillet for about 5 minutes. Be careful not to let the bottom of the sauce burn into the bottom of the skillet here. All you're doing here is mixing things well and infusing the sauce base into the tomatoes. Once the five minutes are up, pour the sauce back into the large mixing bowl (which you've ideally rinsed out). Your sauce is now ready!
STEP 11. PREPARE THE DOUGH: While we're not making fresh pizza dough here today (another time, maybe), get the pizza dough you've either purchased or made and flatten it out into a large circle. It helps to put a little bit of flour onto a large, flat cutting board to work the dough on, as the flour keeps the dough from sticking to your hands or the cutting board. You can use a rolling pin to flatten the dough, or you can stretch it out by picking it up and letting gravity pull on it as you slowly turn it in your hands. In the end, you can make any shape of pizza you want here, including a heart, diamond, four-leaf clover, or even a big dog bone! Let your creative side shine here.
STEP 12. SPREAD THE SAUCE: As your dough is ready, place the dough onto a baking pan (cookie sheet) and begin to spread your sauce onto it. You can put as much sauce onto your dough as you want, depending on your preference. I like about 1/8" of sauce on my pizza. Get the sauce spread out nice and even.

Spread the sauce as thick as you like. Get ready to add the cheese! Image Courtesy: Dan Meyers
STEP 13. ADD YOUR GRATED CHEESE: Once your sauce is all spread out, add the grated cheese on top of the sauce. Get your cheese on nice and even and as thick as you desire. I like about 1/4" of cheese on my pizza.
STEP 14. ADD ADDITIONAL TOPPINGS: Once your cheese is on the pizza, add any additional toppings you want. In my case, I like just a plain cheese pizza. However, you can add many different items here, depending on your preference. Mushrooms, olives, green peppers, onions, sausage, pepperoni, cooked chicken, and anchovies! This is all your call! You can even decorate your pizza with these toppings. Make a big smiley face out of pepperoni slices!
STEP 15. PUT THE PIZZA IN THE OVEN: With the oven preheated to 400 degrees, slide your prepared pizza into the oven on its baking pan or cookie sheet. Be careful; that oven is HOT!

Tasty! Image Courtesy: Dan Meyers
STEP 16. SET THE TIMER: With the pizza in the oven, set the timer for 17 minutes. This should be enough time for your pizza to cook well, but keep an eye on it, as it might cook much faster if you have a thinner crust, less cheese, and/or less sauce. You don't want it to burn! Look for a golden brown crust color and for the cheese to be bubbling and not turning dark or black! Once it looks right, turn the oven off and then use the oven mitt to remove the pizza. Place the pizza pan onto a surface that is ok having a hot pan on it (e.g., stove top). Let the pizza cool for about 4-5 minutes. Letting the pizza cool a bit makes it a lot easier to cut.
STEP 17. CUT THE PIZZA & ENJOY! Once your pizza has cooled a bit, you can easily cut it up using a pizza cutter or a large kitchen knife. Cut the pizza into whatever shapes you want. I like to make squares sometimes. Now serve it onto a plate and put a little grated parmesan cheese on top if you have it. Time to eat!!! 😉

These slices didn’t last very long. Image Courtesy: Dan Meyers